Skiing Hoodie

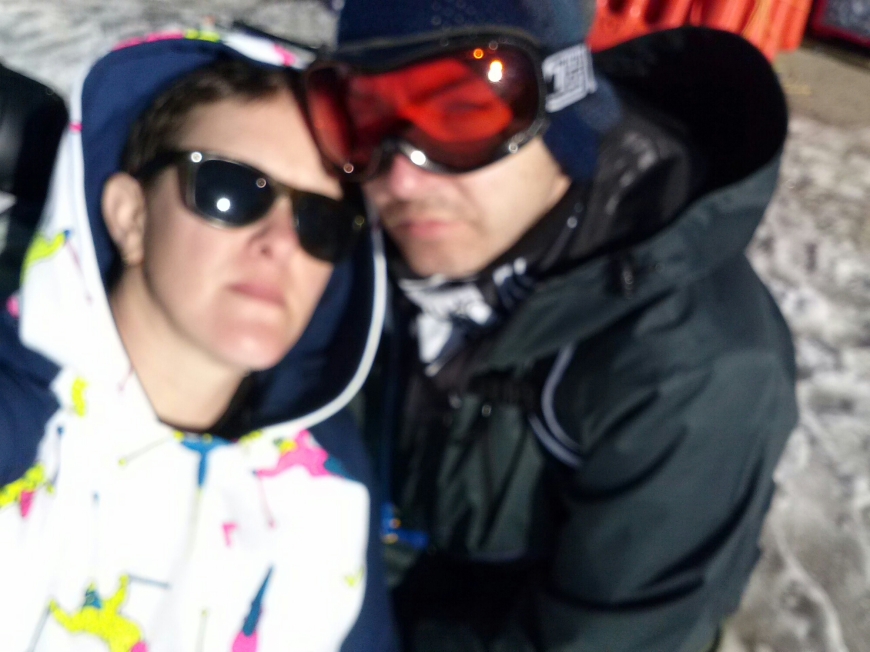
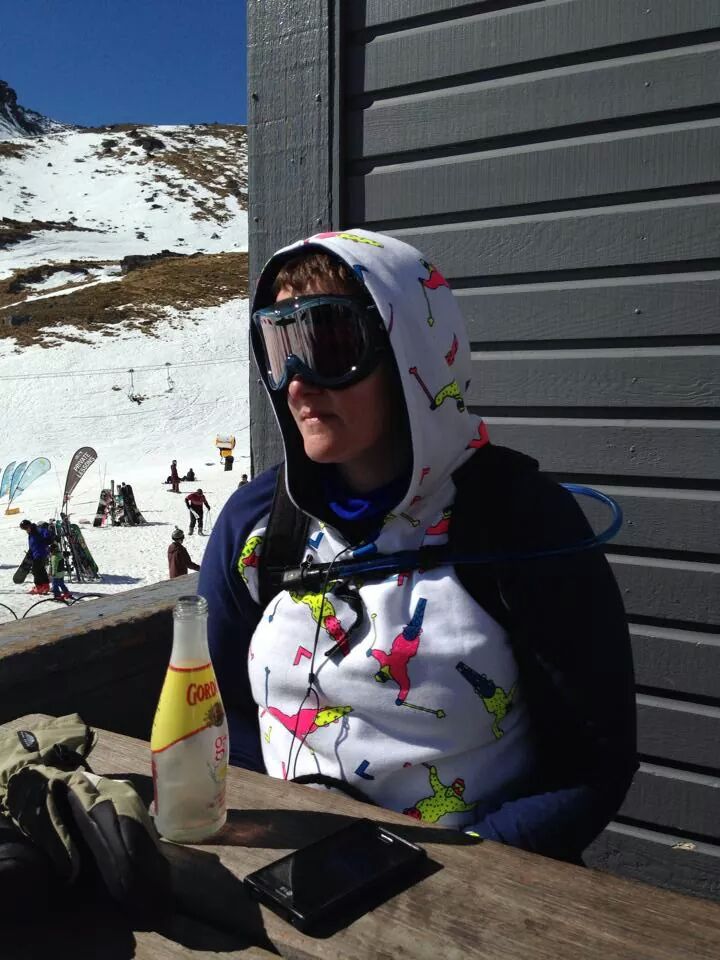
I had some awesome pictures taken at the Remarkables skifield near Queenstown… but I didn’t upload them to my dropbox correctly and my husband’s phone had a spasm and needed to be rebuilt and I lost them. So instead you get less action shots šŸ˜¦ .Sometimes things turn out exactly how you expect… and this was one of them. A few weeks before a long planned skiing holiday I found this fabric for $4 in an open shop. I knew it was destined to come on holiday with me.
image

The fleece backed knit was a square and not enough to do the whole top so I dove into the stash and found a dark blue knit (also likely from an op shop) to complement it. I used the PDF of the Undercover Hoodie from Papercut Patterns . Since I had to get creative due to limited fabric I did not do the pocket but I need make the longer version in the largest size which was perfect and comfy for on the slopes.

I lined the hood with the contrast fabric for extra snuggliness and neatness. I simply cut a second hood and joined it round the edge seam.

image

I used the opposing fabrics as contrasts for the waist and wrist bands. This was a simple sew that I completed the night before going away. I gave it a spray with fabric waterproofing spray- what you would use to protect canvas sneakers – this meant it would not hold up to a downpour but would be ok if it got a little damp.
Welcome to my world!

It is now my turn to take part in  Gemma from 66 Stitches ā€œGreat WSBN sewing  room tourā€ a blog tour featuring our sewing spaces.  My space is not glamorous or worthy of pinterest.  In fact it is a well used, over stuffed space that I probably should be embarrassed of…but I am amongst friends and I haven’t had time to tidy…so here she is.

image

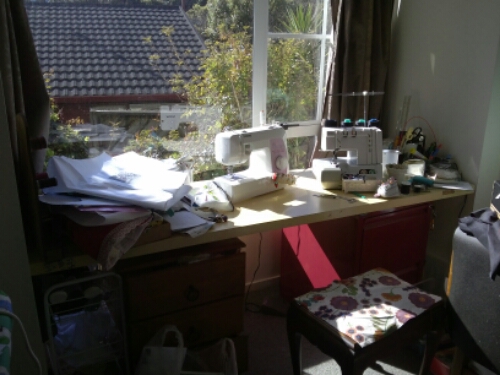
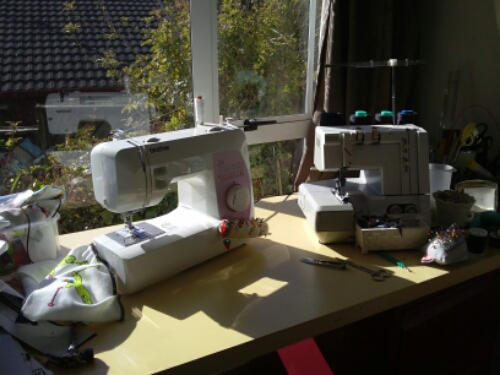
Such a lovely sunny spot to sew in my bay window.  My Brother sewing machine is a basic workhorse I got two years ago for Christmas.  My overlocker is an Elna of undetermined age and pedigree that I got from the op-shop 3 or 4 years ago.  It has no instruction manual, just a decent threading diagram and some permanent pen marks on the tension dials for optimum overlocking.  My thread catcher is a cool ceramic container also from an op-shop.

Maybe we shoule zoom out a little

image

desk

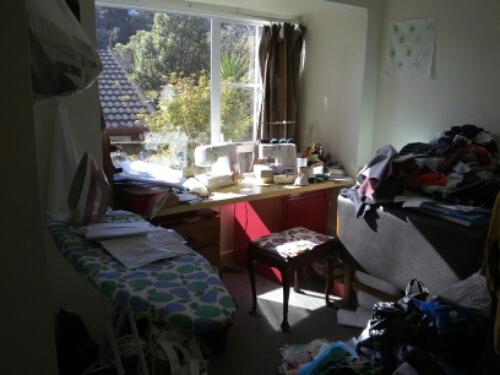
My desk is an old door on top of a bedside cabinet and a filing drawer.  The pile on the left are recent pdf patterns that need to be filled and some abandoned projects.  My seat is an old piano stool that I need to recover.  The drawers are filled with notions, buttons, patterns and other stuff I can cram in there.

Maybe we should zoom out some more…

image

Arrrrgh! The mess!  That is my cutting table, that I can barely cut on as it is always covered in fabric from past, current and future projects.  I mostly cut upstairs on the lounge room floor.  Just ignore the mess on tne floor… I have no idea where it should live…if I did it would be there.

image

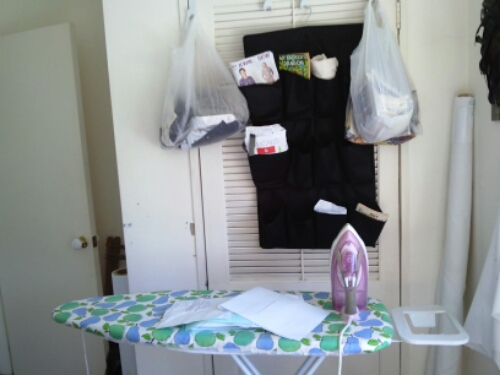
The ironing station (in pinterest speak).  This gets used daily by my husband ironing his work shirt and my sewing, so it is normally clear.  The iron is a Phillips and the only thing I would change about it is for it to not be pink.  The bags hanging above are projects cut out and ready to sew.  Behind that door is a narnia world of fabric. Or a least a wardrobe full.

image

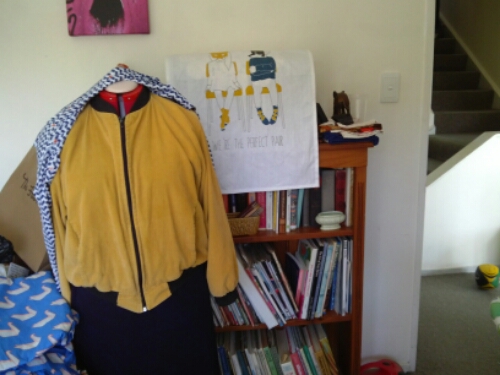
This is directly behind my sewing desk.  The shelves are filled with old sewing books, burda and pdf patterns and some oither random books.  Tallulah (my dummy) is modelling a badly made knit skirt and my second hand corduroy bomber jacket that I need to make longer wrist bands on.  Across her back is my unfinished Belle bow blouse.

image

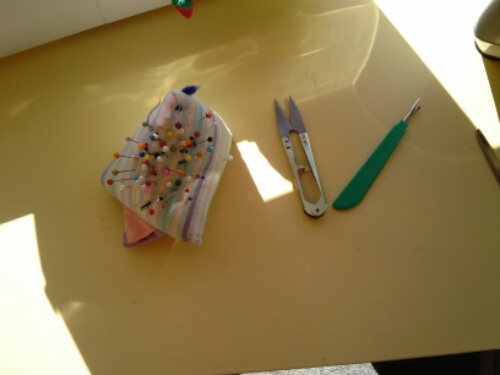
These are a few of my favourite things… my pin cushion given to me by a friend.   My thread snips which I use at the end of each seams so no tails of thread in my garments and my quick unpick because I like to keep it close by.

Finally some fabric pretties

image

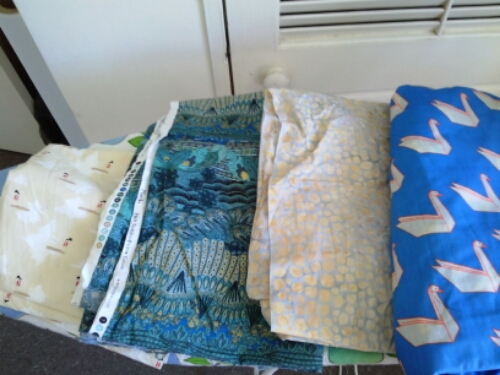
Some cottons for summer tops/dresses that hopefully I will make before the year is out.

So that is my space…hopefully it helps you realise that the sewing room doesn’t need to be perfect.