Sew-Jo T-Shirts and a name needed

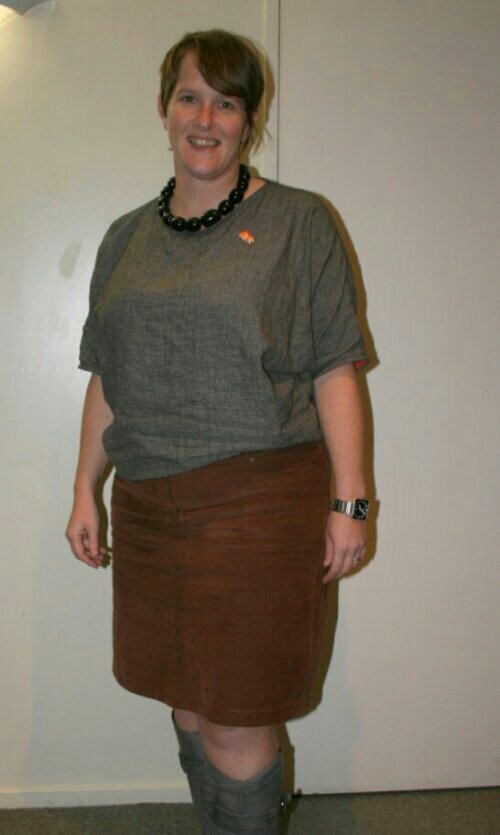
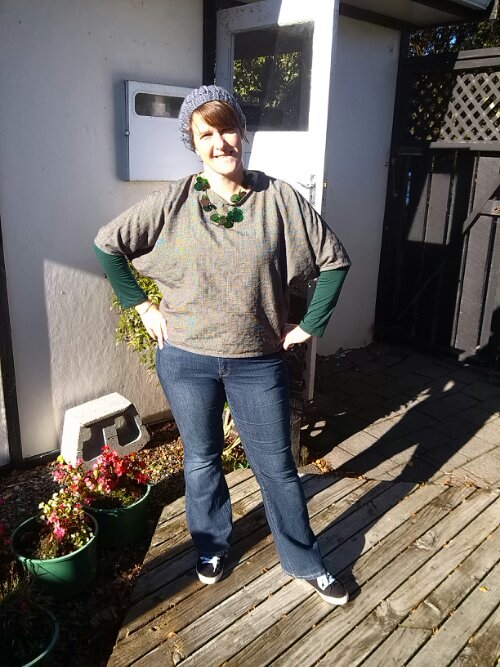
So I recently re-found my sewing mojo (a.k.a Sew-Jo) and had a burst of sewing which I think I have just about caught up on writing about.  One of the things that inspired this sew-jo was tidying my sewing room as it was like a fabric explosion in there while it is not pristine and neat it is definitely a lot more user friendly.  Part of this was sorting out my patterns – they now all live in a large plastic box with dividers between the categories.  I have an excel sheet with these categories and the pattern numbers with the intention of getting this all into evernote… one day.  This helped me re-prioritise my up-coming projects and one of the patterns that rose to the top of the list was a basic t-shirt pattern that I have found on the interweb one day.  The Blank Canvas tee is  a free download pattern which you are encouraged to make your own.  After sticking the A4 sheets together I decided to trace off the pattern so I did not need to deal with stiff photocopy paper that was badly stuck together (I ran out of sticky tape halfway through and went with little strips of gaffer tape).

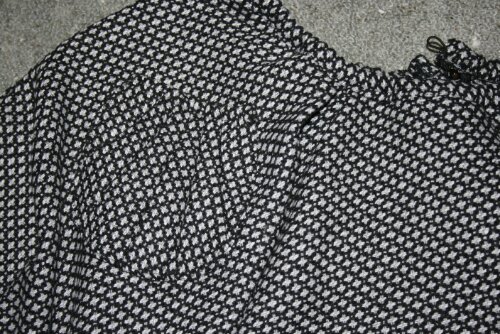
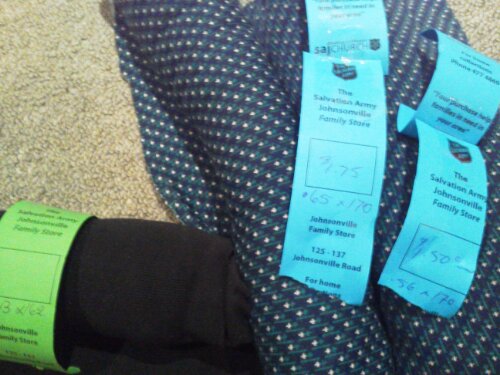
Steph of 3hourspast.com recommends making a muslin before using your favourite fabric and I did this to check the fit after my recent issues with the Pavlova Skirt.  I had some odd knit that I picked up for $1.50 from the Salvation Army Store.
image
I loved it but did not realise it was a weird shape until I took it out for this project.  It was not quite long enough for the bodice and it was a strange wedge shape so I ended up trimming up the wonky edges and piecing up the rest of the front and back with a dark blue knit (also from the op shop).  I used this same dark blue as the bands on the sleeves and neck to make it look like it was intentional.

image

Angled back band


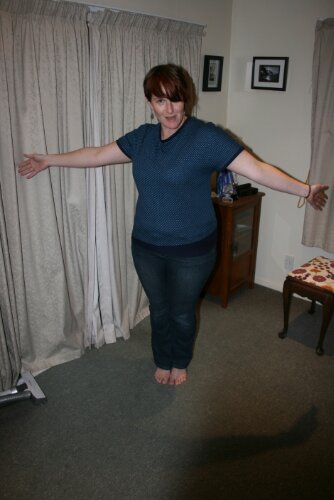
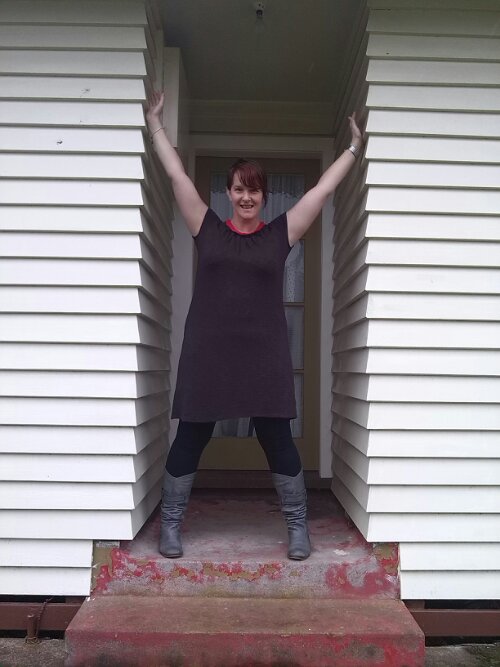
I sewed all the seams on my overlocker and only did the top stitching on my regular machine.  This is my first time sewing a garment this way so I hope it holds up in the wash.  I did not hem it as the knit was cut cleanly and it was “just a muslin”.  I tried it on and I love the fit – it is perfect.  I ended up wearing it for the rest of the day – even out of the house – so I think it is presentable and definitely a great wearable muslin. 
image
I need to tweak the neckline – it is a bit high for my liking and I have not perfected the tension suggested in applying the binding.  Next time I intend to do more of a scoop neck or a boat neck – or probably both as I can see myself making this many times.
image

Future Tees

image

I love it

image

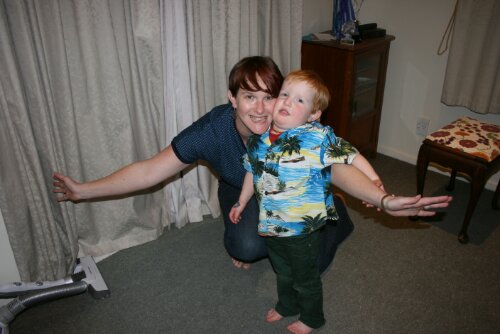
And so does Lewis!

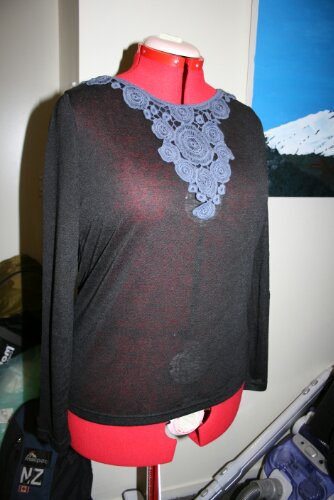
My tidying of the sewing room was in part to make room for my new friend who has arrived… the lady in red. 

image

My dress form... she needs a name

Apparently all dress forms need a name and I am not inspired to think of one so I am putting it out to you – my friends.  All suggestions commented below (and you can put as many in as you like) will go into a hat and I will draw out one.  I promise that I will use this winning name for her and you will be rewarded with a piece of random fabric from my stash (maybe even a pattern).  If you don’t sew I will send you chocolate instead.

So help me out and give my lady a name.  I will pick a winner this time next week.

Berry Pavlova

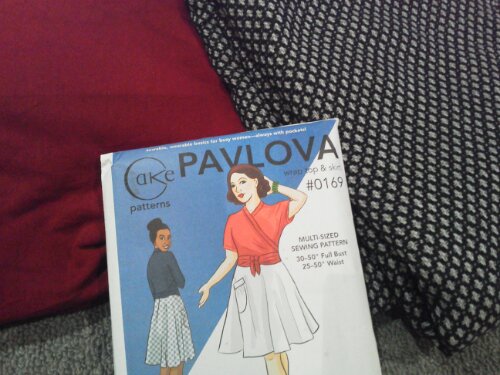
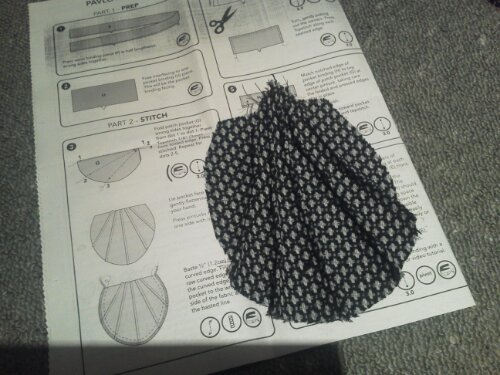
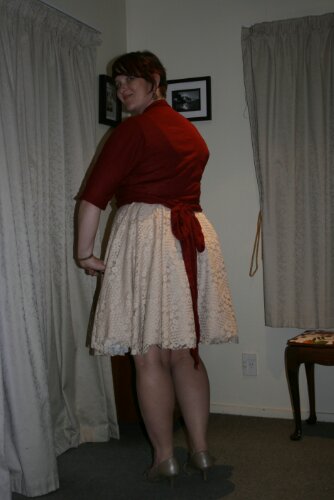
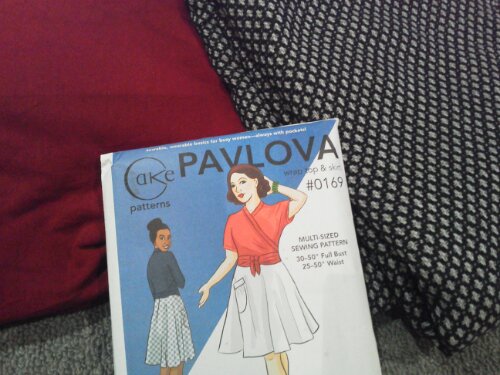
I have a love/hate relationship with the Cake Pattern Pavlova.  I loved the wrap top on the pattern and decided that a cute circle skirt would not hurt either.  I decided to start on the skirt as it should have been simple to whip and I am still a little wary of sewing knits for the top.  I got a pretty wool blend from the Arthur Toye sale and I only just had enough to cut out my size 42.5.
image
I dutifully followed the pattern and started with the pockets, but with the heavier weight of my fabric my pin tucks looked awful, then when I was putting the bar on the top of the pocket I did a completely crap job.    I sought advice online from the sew-alongs that have happened in the past and found the idea of flipping the pocket over so there is the shape but just seam lines.  I took the top bar off and hemmed the top, put them on the skirt (cause I needed two i to be balanced) and it looked real pretty!
image
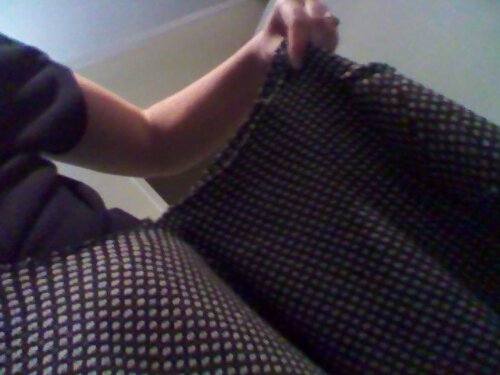
For the skirt pieces I overlocked all my edges as it is a loose weave and to try and stay stitch the bias aspect of the waist band.  This was a massive failure – even though I barely moved the fabric it stretched a little…
image
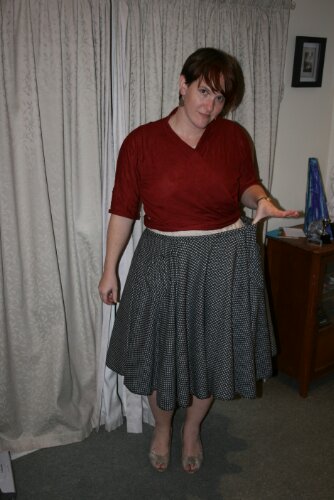
I tried it on after putting in the perfect invisible zipper and it was HUGE… like a whole panel to big.  I wailed at the other WSBN’ers on facebook and then looked to solve the problem. The internets told me that part of my problem could be extra seam allowance accidentally added to the pattern, this accounted for some, then I knew some of it was the fabric HAD stretched… but really how much else could account of a ridiculous size difference?

I decided to put two pleats into the front as I did not have a front seam to take anything out (I had removed the seam allowance when cutting out for this piece so it couldn’t be to blame).  My cut out waistband fitted me so I carefully pinned it around – and it fit!  I finished the waistband as per the instructions, and tried it on again… and HUH???? It was still too big!!!!
image
Did it stretch again?

Am I a complete numpty who cannot measure my own waist?

How can I fix this?

I unpicked my beautiful invisible zipper and took and inch out of each seam.  Then I re-sewed my invisible zipper 3 times as the first 2 times I kept making my skirt into a mobius strip.  I measured my waist again with elastic, made it a little tight and carefully fed it through the waistband which conveniently worked as a casing.  Ta-dah! I thought – I have fixed it all, except I hadn’t. 
image
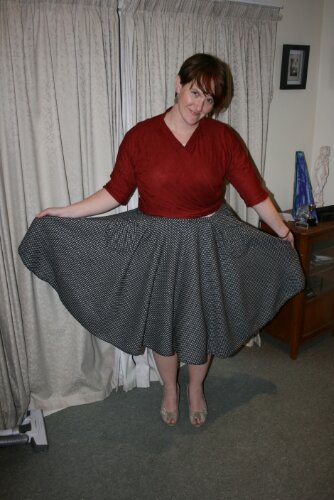
For some crazy reason –it is still too big.  Maybe my fabric is too heavy, did I actually cut out the next size? I don’t know – but it does look pretty hanging on my dress form. But I do love the pockets.

image

Camoflage pockets that are truely awesome

Then my thoughts moved to the pavlova top.  If the skirt was a no-go right now then I still needed Cake to wear to the high tea.   I had cut out the wrap top at the same time as the skirt on a size 40 but with longer tails for the wrap.  The sleeves are halfway between the long and short lengths on the pattern as my fabric was not as wide as recommended, but I like how it worked out.  My fabric choice was a lightweight knit that I got for $3 a metre from the Fabric Warehouse sale several years ago.  I bought a bunch of knits at this sale but have been scared to sew them, but I am getting over this fear as I attempt it more.
image
I had no construction issues on the top. I got a bit hung up on the collar piece but the sew along pics  helped immensely.  I used a double sided interfacing for the hem binding that I just cut into thin long strips and it seamed to work quite well.  The thing I noticed most is that there are some VERY LONG hems on this wrap – along the ties and right around the neck/front/ties.  I did my first attempt at using a twin needle and it was a success, I only stopped as I realised I was going to run out of cotton and I didn’t think I had another matching one in my stash.

I love how the shoulder dart shapes the whole top and I am glad I followed the instructions as I could not see how this strange shaped piece became a wonderful wrap.  I am now thinking of what other knit I have in the stash that I could make in one.
image

Let Us Eat Cake!

I love pretty clothes and I love pretty plates so when the WSBN bloggers put forward the idea of Cake High Tea I put my hand up to host.  I have a bunch of cake plates and china that need using and the amount of food that arrived in my house filled ALL the plates.

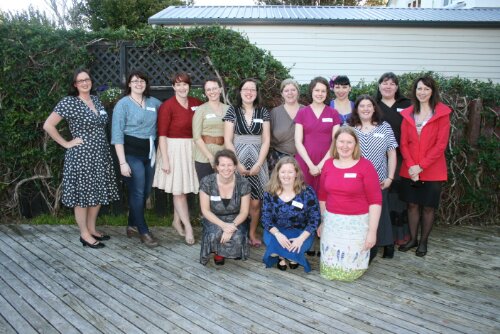
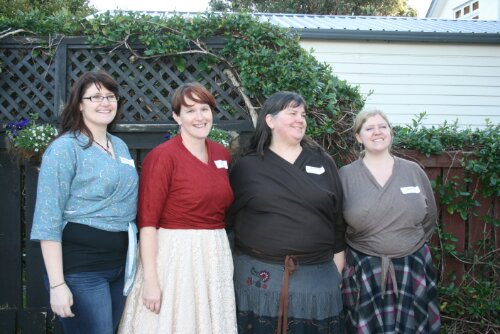
Everyone turned up wearing their Cake – there were Pavlova’s, Tiramisu’s and Hummingbirds as well as other cake patterns. 

image

Back row: Nicola, Marylouise, Me, Zara, Mel, Emma, Johanna, Joy, Holly, Maryanne, Sandra
Front: Nikki, Wendy, Gemma

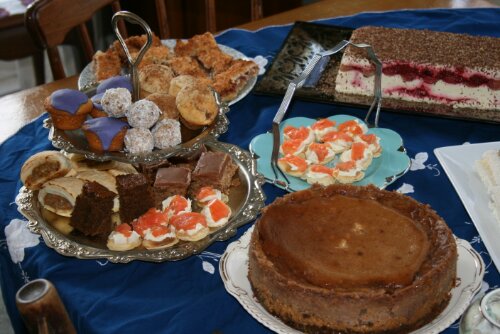
The plates they bought contained sausage rolls, weetbix slice, salmon blinis, chocolate pots, banana muffins, cupcakes and louise slice.

image
pavlova, Tiramisu, lemon drizzle cake, truffles, gingerbread cake, chocolate éclairs, cheesecake, cucumber sandwiches and asparagus rolls,

image
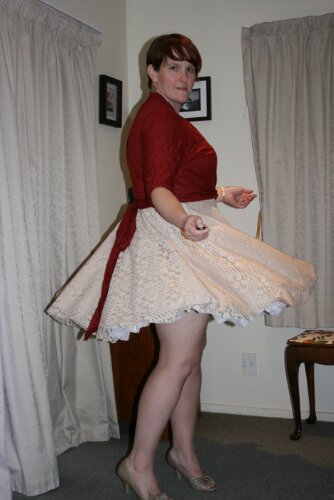
There was much twirling of skirts, eating of cake, drinking of tea, welcoming new members, taking of photos and talk, talk, talk.

image

The Pavlova set

At the end of the day I was FULL and satisfied from great company.

Thanks to everyone and I cannot wait till we all meet again.

15/52 Super Easy Wrap Dress

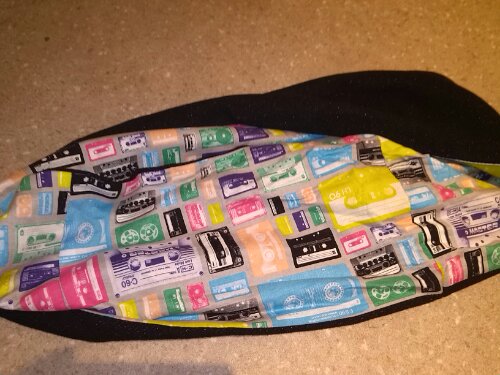
ByI have not been 100% recently and it has got cold in my sewing room so I lost my sewjo (sewing mojo) for a while there.  The only thing I managed to make was another cowl/scarf.

image

Made from a remnant of black wool from Fabric Warehouse and some awesome cassette tape cotton from Made on Marion.  It was just three straight lines and I felt like I had done something!

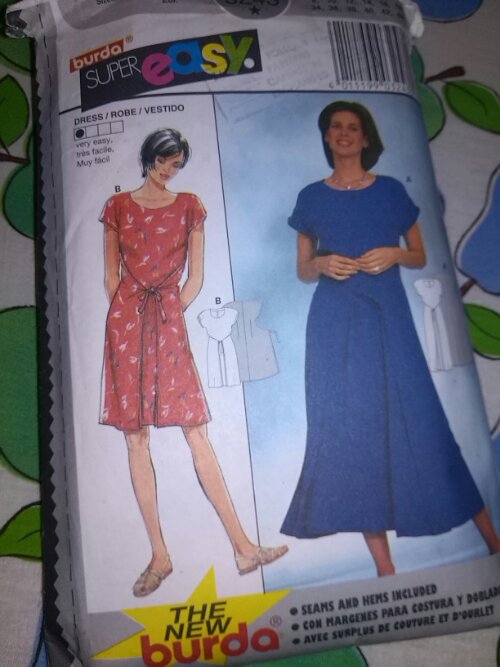
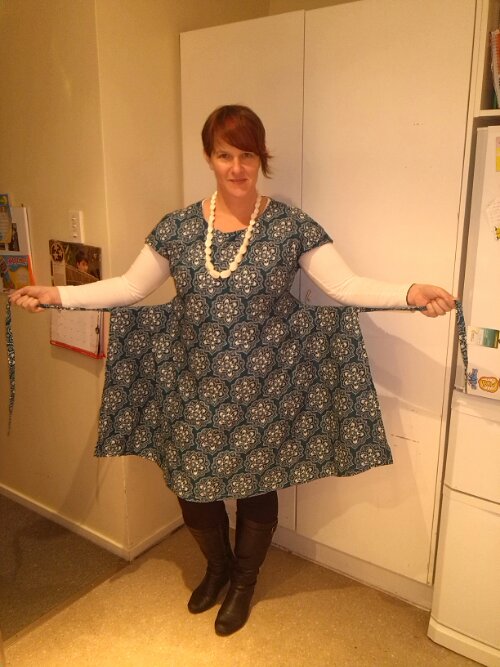
The other thing I managed was sitting in front of the fire cutting out projects.  The super easy burda wrap dress was one of these projects and today I sewed it up and just like on the packet it was Super Easy.

image

In cutting out this dress it required 1.7m of 140cm fabric, but I only had quilting cotton, which is 114cm wide, and not quite enough of it.  So ignoring the layout instructions and folding the fabric so the pattern pieces grainline was turned by 90° I managed to cut it out with only a handful of scraps. The front in cut on the fold, the back has a seam and the only other pieces are the neck facings and ties.  It is a pretty simple pattern.

I had planned on doing a contrast binding for the skirt edges, similar to what is done on the retro Butterick pattern B4790. But I am useless at making binding… I cut it too thin…again.  I followed the pattern until I tried it on and the underside of the wrap showed through too much.  To fix this and to counter the Wellington wind I sewed down the side seams fgollowing the hem lin I had already made.

image

I love this fabric but it is awful to photograph and show the details of the wrap front.

image

It is a pretty simple dress.

image

Unwrapped it looks slightly odd.

image

But I can switch it up and wrap it to the back.

image

So Super Easy Burda lived up to its name and hopefully helped me get my sewing groove back on.

Sew Cake… Eat cake

Since meeting the Wellington Sewing Bloggers Network I have been challenged in my sewing knowing others are looking at it, also by the challenges we seem to keep setting ourselves. The latest is the Cake sew along.

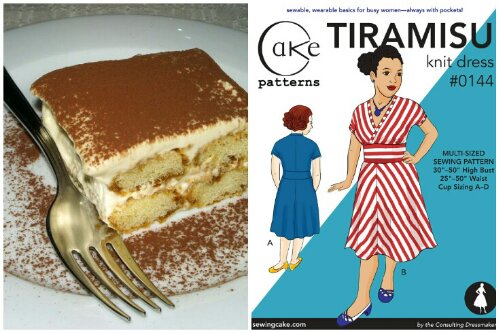
It started with wanting to eat Tiramisu wearing a Tiramisu by Cake Patterns.

image

Mmmmmmm Tiramisu

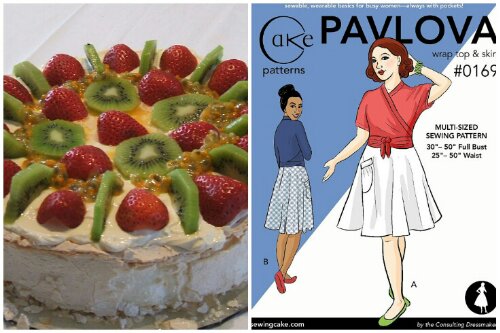
Then some of us wanted to eat Pavlova wearing Pavlova

image

Mmmmmm Pavlova

so we decided on eating Cake (or high tea) while wearing cake (any pattern we chose).

A bulk order of patterns was put in and with some swapping of patterns, raiding of the stash or purchasing more fabric at Arthur Toyes 50% winter sale we are all set!

Then we thought… lets invite the internet to our Cake Day. So on Sunday 28 th July we will be having Cake in our cake. We are pretty generous in this description so if you want to join in – even just wearing a pretty dress and eating cake, you could meet up with others or take a photo and post it…and it’s like an online party.

If you want to get clever Mel also made a pretty badge for us and for your blog here.

image

So far I have cut out my Pavlova skirt from a black/grey/white blend I got on sale and a Pavlova top from a Red knit that has been keeping my stash nice and warm for the last few years. Now I had better get sewing this weekend.

image

Also from my Handmade post (link to handmade) the winner of the sock monkey purse is Wayne. Remind me of your postal address by email and I will put it in the post to you.

Ladybird and Batfish

It is mid-July so lets talk about my attempt at Me Made May (MMM). The fact that I am only just posting about it adds to my uselessness below.

This year I have attempted MMM‘13 and discovered two things:

1. I am useless at taking photos of myself. I need a tripod and no children standing beside me.
image

These two always creep into the pics!

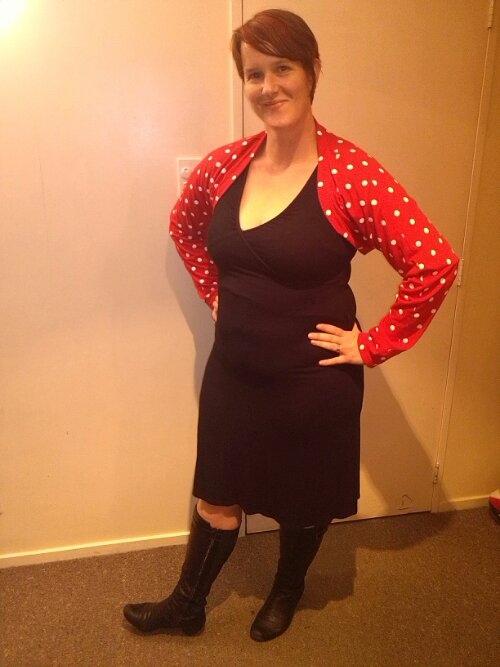
2. I love dresses but I need more basics especially for weekend wear. To begin to address this I made the ladybird shrug and the batfish.

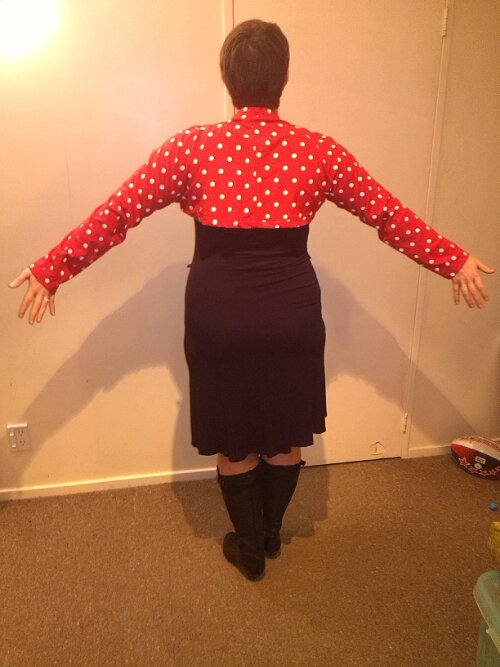
The ladybird shrug was inspired by the sale table at spotlight where I found this bright red knit with white spots (I know that ladybirds have black spots but I feel like a ladybird when I wear it as I normally pair it with a black dress).
image
I thought this fabric would make a great weekend cardi paired with jeans and a plain tee.
image
Then one Friday night as I was cutting out fabric I decided to go with this 90s shrug pattern instead… or maybe as well… as I have a lot of fabric left over. This is a bold piece that works well at work with a black dress and also for the weekends as casual wear.
image
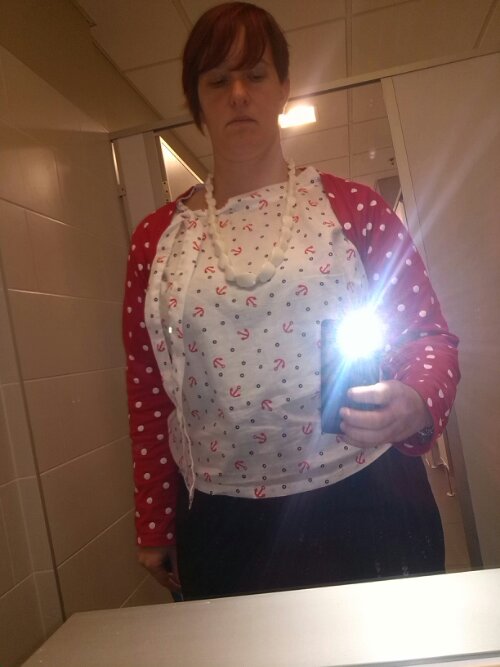
Mixing up the patterns in the work bathroom the other day.

My other recent creation is due to the unfortunate liquidation of starfish. They held a couple of workroom sales and I snaffled bias binding, some lace inserts, fabric remnants and a few lengths off the bolt. At the workroom I was asked if I was going to put this into the stash or make something straight away.
image

I took this as a challenge and went home and straight to the sewing room. I cut out my basic bat wing top that I used before but not sure if I have blogged about. I bound the necklines and sleeves with orange bias that I got from an op-shop. For the bottom hem I used a remnant of grey knit from the fabric warehouse. I don’t have a pattern piece for the waistband so I got really scientific and just wrapped the fabric around my waist and sewed the seams. As usual once I had completed everything I tried it one… and it was a ridiculous SACK. I have no photo evidence as I was angry at myself for getting to this point, so I slept on it and woke up with a solution. I cut the knit band off and put on the top inside out so I could pin in my side seams. I ended up taking in about an inch off each side (off the front and the back) about 4 inches in total off the width. I adjusted the batwing curve, sewed and overlocked the side seams, did a basic hem and the Batfish top was born! It is perfect weekend wear with jeans and a long sleeve tee underneath and I am sure it will sneak into my work wear as well.
image

13/52 Burda Brown Bear

I am keen to do sew-along challenges but in May I struggled to sew at all due to EVERYTHING ELSE IN LIFE so to complete the Burda Sew along I cheated a little in that I used a pattern that I had traced out several years ago and never used (in-fact I only recently re-found it in my sewing room when sorting stuff out). The fact that I didn’t get a photo of my dress until July even through I have worn it several times is also a reflection of the busyness.
image
I cut this dress from a brown knit that I got from a Fabric Warehouse sale several years ago. It is quite stretchy so I used my walking foot to avoid rippling seams and pulling on the fabric – this seemed to work quite well. I had just bought my mannequin so I draped it over her briefly, then I got concerned about the neck line seeming so huge and potentially stretching more so I went and bound it up with bias tape. Then I tried it on… and it looked STUPID! The neckline was huge -not stretched at all- just the pleats had slipped as I sewed them and some width needed to be removed from the back. So I threw it in the corner and sulked.

A week later I got my un-picker out and removed the bias binding, re-pinned the pleats, took the back in and rebound with new binding (this time with fancy knit binding that I got the Starfish workroom sale that perfectly matches my fabric. I also bound the armholes and finished the hem with a small hem.
image
The final touch was to handsew this great red crocheted trim that I got from Made on Marion around the neck line. Which I did on my lunchbreak at work. It was very peaceful.
image

This has turned out as a comfy weekend dress. For a “plus sized” Burda pattern it is not a shapeless sack like many of their larger patterns are. I think the drapey knit helps. I love the pleats…It was worth all the unpicking to get them right.