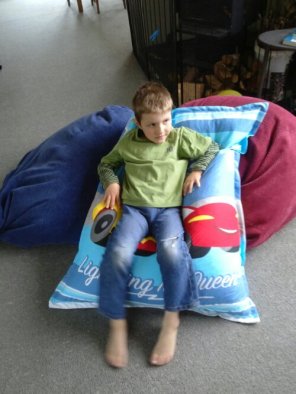
I have been attempting to tidy my sewing room recently and one of the things in a corner was a bag of beans for a bean bag. They were banished to the corner after I found the boys one morning swimming through a sea of white beans in the middle of the lounge floor and laughing “Snow, snow” as they poured them over their heads, under the couch and EVERYWHERE! So I finally made the bean bag they were intended for.
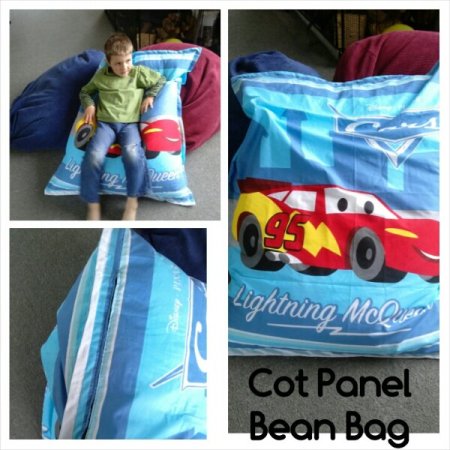
It uses some cot panels I got from the sale table at Spotlight and I thought I would give a brief run down on how I made it further down if you are interested. It is not rocket science – it is just a big pillow but I thought it was a cool idea.
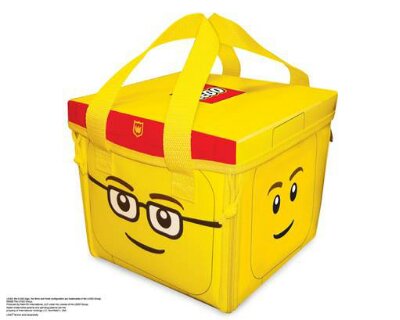
Another make for the boys was a new bag/mat for the growing collection of Lego. It has been held in cool Lego head bag that Alex got for his birthday.
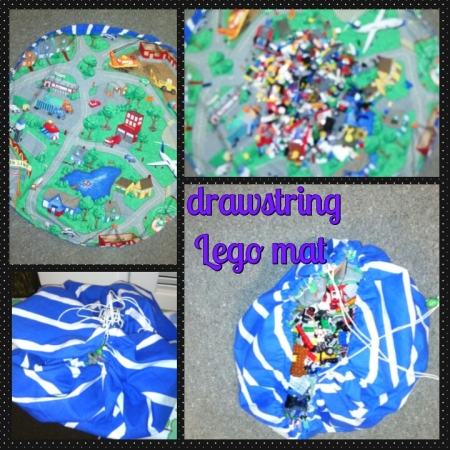
It is pretty cool but with another birthday coming up I could only see the Lego collection getting bigger so I made a simple circular drawstring mat from a curtain from the op-shop.
While on the roll with cool things made for kids I thought I would share my friend Vanessa’s cool blog Nowl’s Nest she has just moved over to WordPress and creates awesome softies including this little Monstar which you may recognise the fabric from a certain dress.

So if you want to make a Cot Panel Bean Bag…
First take two rectangles (mine happen to be cot panels 110cm x 90cm) and insert a zip about 5cm from the top (or bottom) edge of shortest side of your fabric
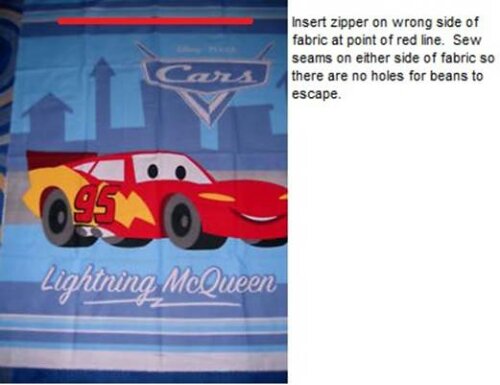
Next lay your two panels together – one will now be shorter than the other due to the seam created above. Even out the length so they match.
Ensuring your zipper is open slightly, hem all four sides with a standard seam allowance (I used 1.5cm).
Finish all edges to stop fraying – I used overlocking to add another layer of protection from popped stitches and escaped beans.
Turn in the right way and iron to make all the corners and seams crisp.
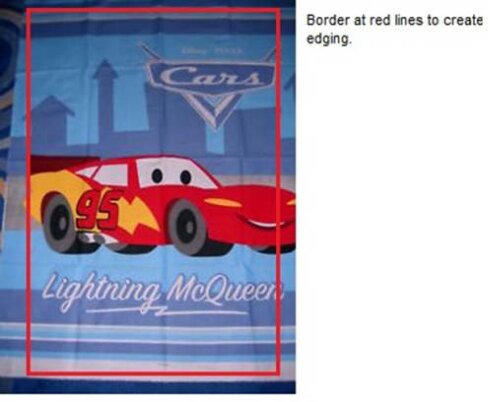
Next mark 1 inch into each corner from both sides (I know I was using metric before and I normally do but the 1 inch line is nice and big on my machine so is easy to line up for this part!) Sew a seam 1 inch in from all sides as a smaller rectangle creating a border around all edges. This is the next barrier of defence from escaping beans.
Finally fill with beans and I cut off the zipper pull with pliers so the boys cannot create a snowstorm again. I can still open the zip with a paperclip in the hole to refill the bean bag or to remove the beans to wash it.
My boys are pretty tough with our bean bags – they get jumped into A LOT and so far this one has been up to the test.
